Honestly, I do not have sweet teeth; I prefer to order a glass of wine to a pretty-looking dessert at the restaurant.
"...no, I don't need a dessert menu. Can I have a wine list please."
Anyway, here is my attempt to expand my horizon. A recipe for a Vegan dessert.
 |
| Grilled banana experience with sour soy cream & Balsamic Vinaigrette |
Ingredients (serves 4):
1 cup mung beans
3/4 Soy milk
3 tbsp Kanten, dissolved in warm water
2 banana
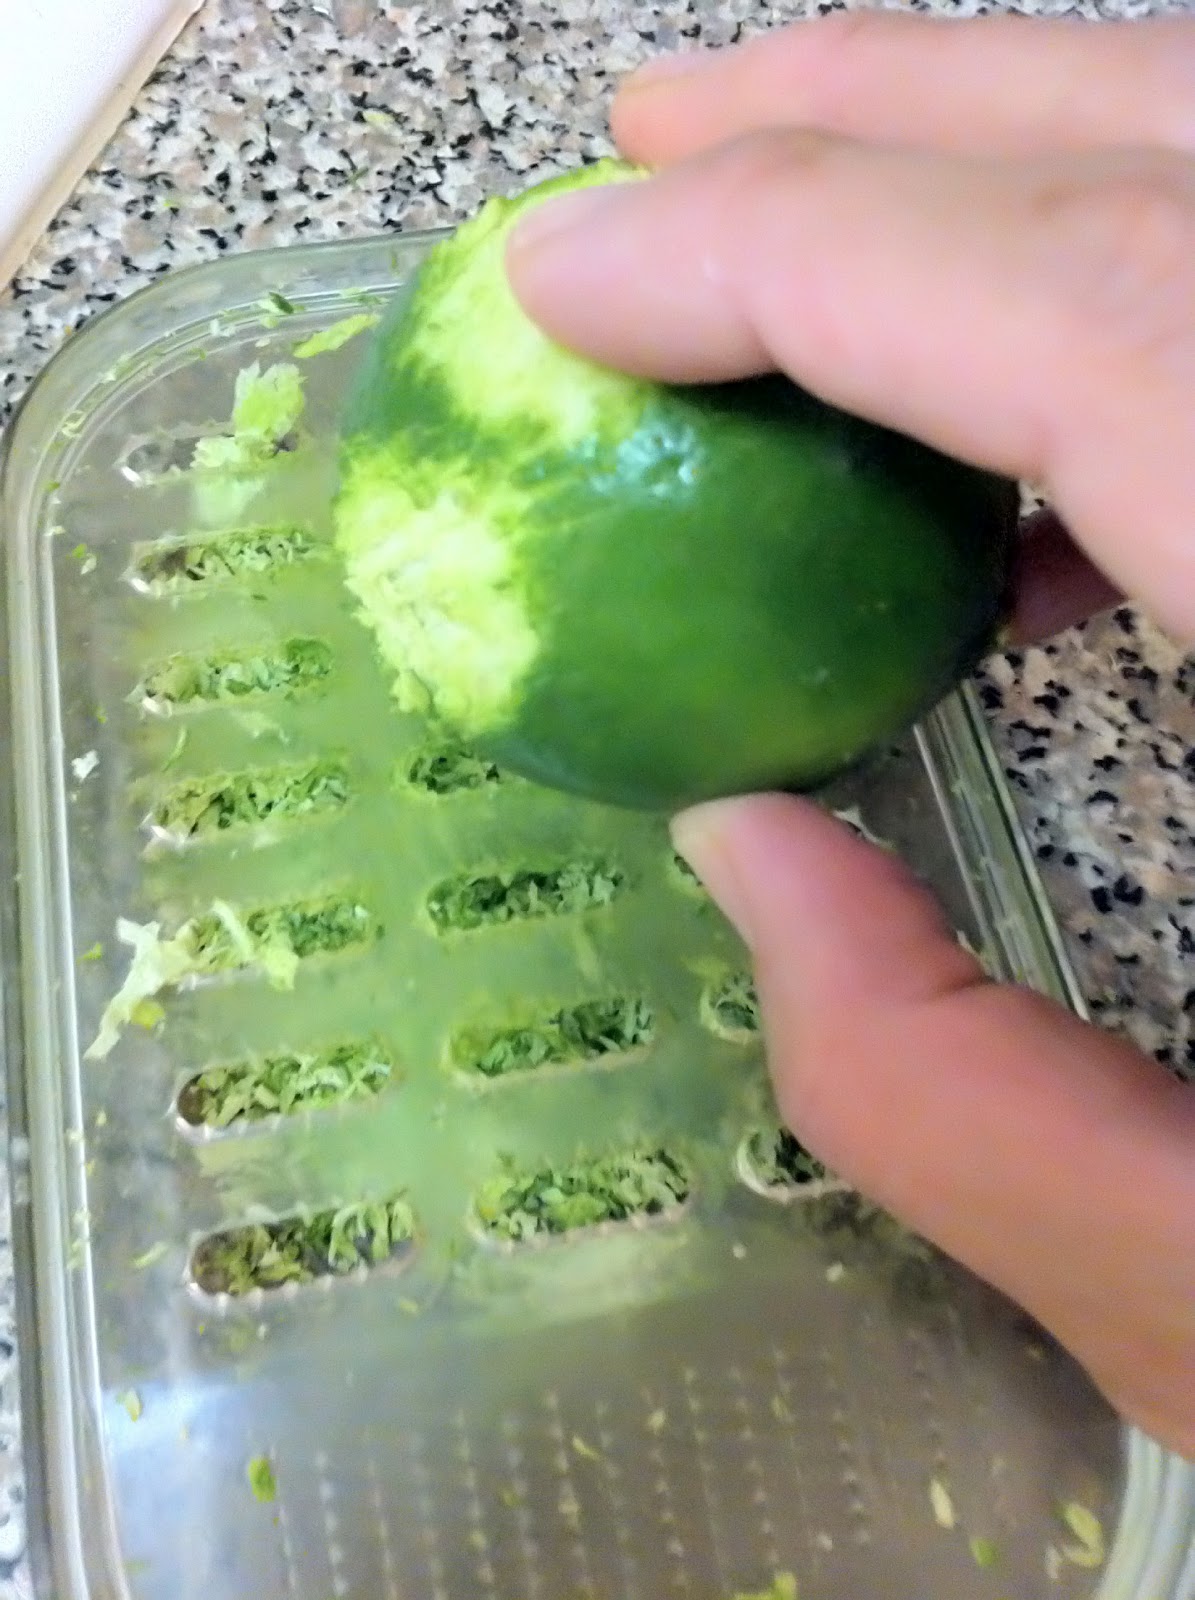
1 lime
4 tbsp Honey
Salt, as you wish
Balsamic Vinaigrette (fruity one), as you wish
Methodology:
1. Boil mung beans in low-mid heat with a bit of salt in it until the texture softens. Drain the beans well, then put the beans back into the pot with soy milk and Kanten and simmer. Stir well to blend the beans, soy milk, and Kanten. Add honey, at the end.


2. Brush lime juice on Banana (...I was hoping that this will prevent discoloration of banana.) Then, grill until the color changes to very light brown. Place grilled banana at the bottom of containers, then add 1 on top of the grilled banana. Cool the containers in a fridge for several hours until the texture and flavor settles.


 |
| This recipe makes 2 of this which serves approx. 4-6 people. |
 |
| I recommend this to be served with Sour soy cream and fruity Balsamic Vinaigrette. |
Thank you for reading my blog!
 |
| Coming soon! A recipe for Sour soy cream. |
One day, One recipe!!

Have a nice day!!!